Step 1: Planning and Preparation
- Check Local Regulations: Review local regulations and obtain any necessary permits for asphalt paving in San Jose.
- Measure and Plan: Measure the area to be paved and calculate the amount of asphalt needed. Consider factors like slope, drainage, and existing pavement condition.
- Prepare the Site: Clear the area of debris, vegetation, and any existing pavement. Grade the site to ensure proper drainage away from buildings and structures.
Step 2: Base Preparation
- Subgrade Preparation: Compact the soil to create a stable base. Use heavy machinery like rollers or compactors to achieve the desired compaction.
- Subbase Installation: Lay a layer of aggregate subbase material (usually gravel or crushed stone) and compact it thoroughly to create a stable foundation for the asphalt.
Step 3: Asphalt Mix
- Select Asphalt Type: Choose the appropriate type of asphalt mix for your project. In San Jose, California, common types include hot mix asphalt (HMA) or warm mix asphalt (WMA).
- Transport and Temperature Control: Transport the asphalt mix to the site and maintain it at the proper temperature to ensure workability and compaction.
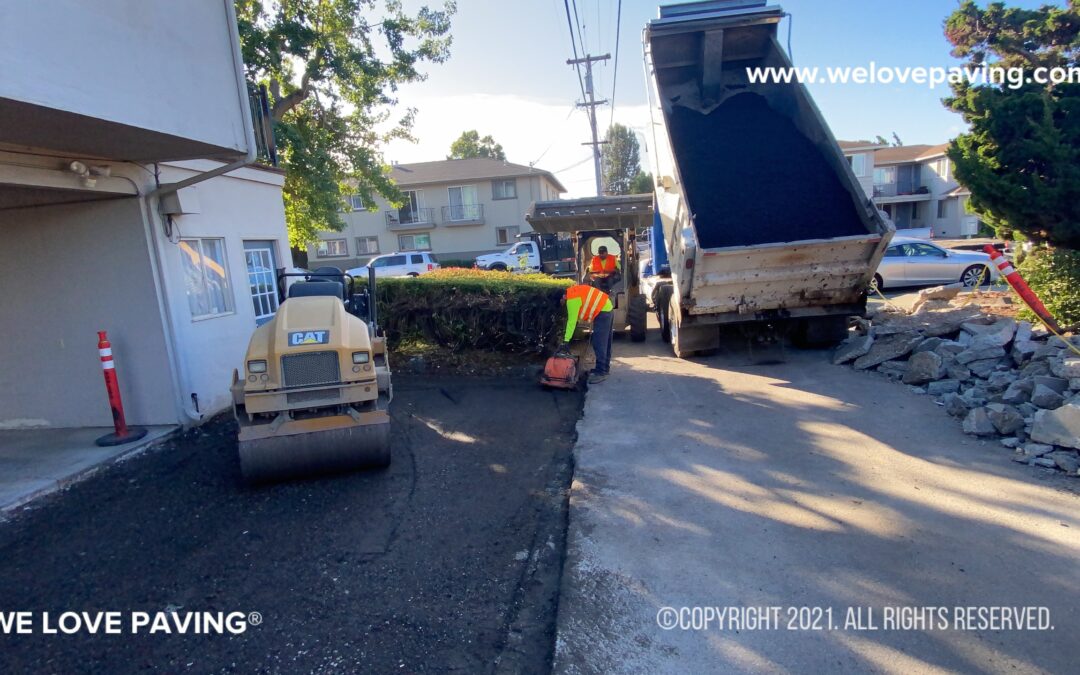
Step 4: Asphalt Placement
- Surface Preparation: Apply a tack coat to the prepared base to promote adhesion between the asphalt layers.
- Asphalt Installation: Use a paving machine to lay the asphalt mix evenly across the prepared surface. Compact the asphalt immediately after placement using a roller to achieve the desired density and smoothness.
- Edge Compaction: Pay special attention to compacting the edges and joints to ensure a seamless transition and prevent water infiltration.
Step 5: Finishing Touches
- Surface Smoothing: Use a finish roller or mechanical screed to achieve the desired smoothness and compaction of the asphalt surface.
- Curing: Allow the asphalt to cure properly according to manufacturer recommendations. This typically involves keeping traffic off the surface for a specified period.
- Striping and Marking: Once the asphalt has cured, apply pavement markings, striping, and any necessary signage according to local regulations and requirements.
Step 6: Maintenance
- Regular Inspections: Periodically inspect the asphalt surface for signs of wear, cracking, or potholes.
- Sealcoating: Apply a sealcoat to protect the asphalt surface and extend its lifespan. In San Jose’s climate, where UV exposure and temperature fluctuations can accelerate asphalt deterioration, regular sealcoating is especially important.
- Repairing Damage: Promptly repair any cracks or damage to prevent water infiltration and further deterioration.
By following these steps and considering the specific climate and regulations in San Jose, California, you can successfully lay asphalt for various projects, ranging from driveways and parking lots to roads and highways. Always ensure safety measures are in place, and consider hiring a professional asphalt contractor for large or complex projects.